Change the color of some wires in Cadence Virtuoso can be useful in schematics with a lot of wires.

By default Cadence Virtuoso use the color ‘CadetBlue’ for all the wires and labels, but this can be modified. Here, I am going to explain both methods:
Change only some specific wires
This is very useful when you want to organize and mark some wires with and specific function by using different color as the default one.
steps–> When creating the wire (with the Keybind ‘w’), press F3.

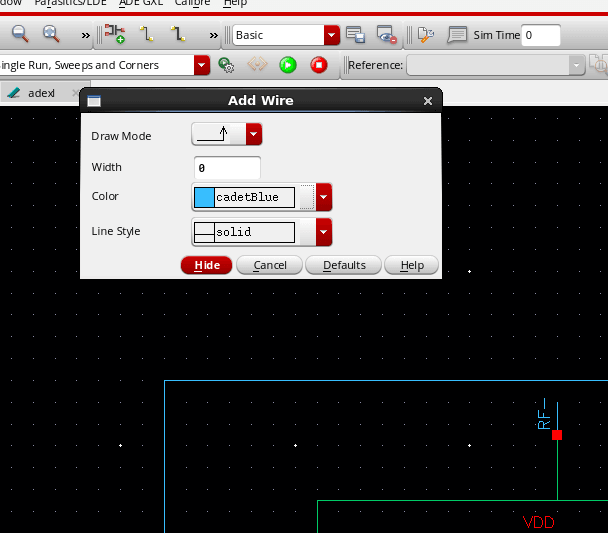
Then choose any color. From now on you will draw all the wires with that chosen color.
You may choose again the ‘CadetBlue’ color to come back to the default blue color.

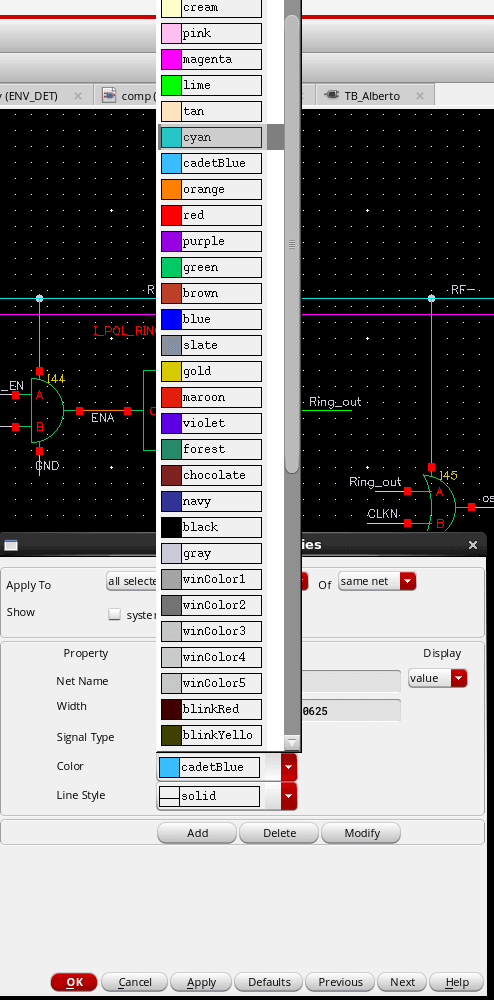
–> Once the wire is created you can select the wire and go to the property editor (pressing the bindkey ‘q’) and selecting the desired color.
Default color of all the wires
You have to enter in the CIW window and then go to Tools>> Display Resource Manager >> Edit… Other option for this is by modifying the file “display.drf”.

In this window you can modify the colors of all the layers Virtuoso is showing. For the wire color, just find the layer labeled as “wire” and change the color.


Dear Alberto,
changing the wires is not a problem at all, but I am struggling with a side effect of it, lets see if you are able to help me. The problem are the big dots that appear in the interconnection between wires, that remain in the default color. Do you know how to solve this?
You can just avoid the dots from popping, but they are helpful and I want them to remain.
Best regards and thanks for you kick ass blog!!
Yes… I dont know how to change the dot color. if you figure it out, let me know!
Ok, thanks for the reply. It seems after a while it updates the color and it is automatically solved!!
Thanks very much for your tutorial Alberto !!
You are welcome! 🙂
Thanks a lot Alberto!
Especially method for changing default color of all the wires.
Thanks very much Alberto, it’s really useful !